|
|
 |
|
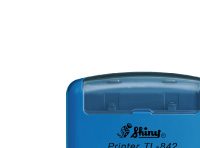
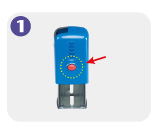
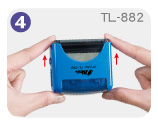
Lock button: Press to secure the stamp on the required lock position to take out the ink pad or arrange the texts. |
|
|
|
|
 |
|
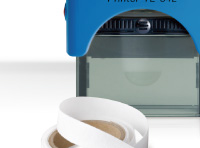
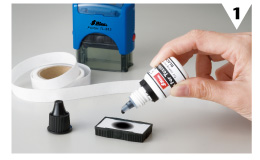
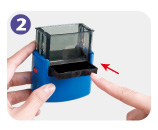
2. Depress and lock the stamp on the first lock position to insert or take out the ink pad. |
|
|
|
|
 |
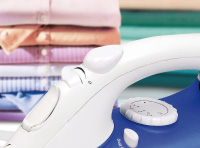
Lock the stamp on the second
lock position to arrange texts.
Arrange rubber types from right
to left. |
 |
|
|
|
 |
|
Gently depress the handle to have stamp back in position, and stamp as usual. |
|
|