Self-Inking Printing Kit - Printer
Feature Specifications Operating Instructions
 
 
  Rubber Type Plate
 
  Tweezers
Removable Platen  
Printing Stamp  
 
  D-I-Y Set
  Quality instant stamps that help to create your 
own texts whenever you need it. Available in 
Printers and Essential stamps for office use, and Handy Stamp type for mobility.
   
 
Various Handle Sets
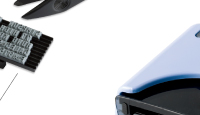
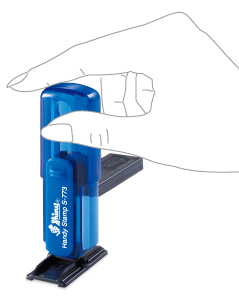
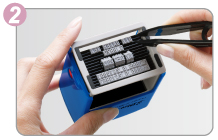
Shiny D.I.Y. Set features text-changeable platen(s) with a self-inking stamp which customers can choose from a selection of Shiny's Printer Line, Essential Line, and Handy Stamp for different uses.
 
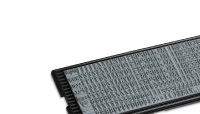
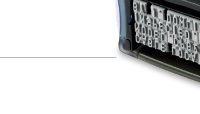
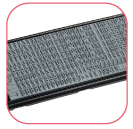
Various Sizes and Languages
Rubber type plates are available in various sizes and languages for different needs and markets.
 
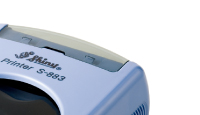
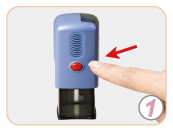
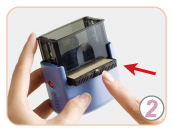
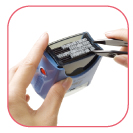
Simple and Convenient
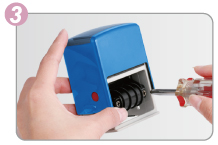
D.I.Y. Set allows users to own a stamp they require whenever they need it.
 
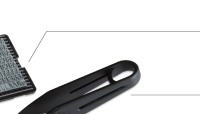
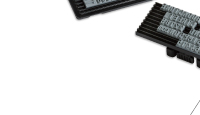
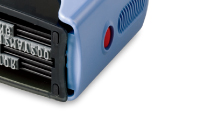
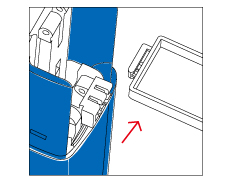
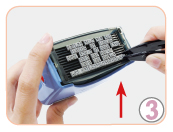
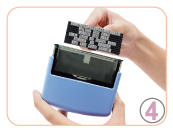
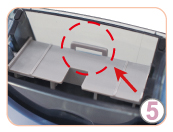
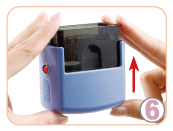
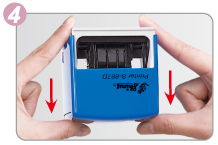
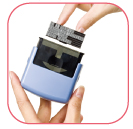
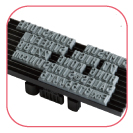
Extra Removable Platens
Extra removable platens are also available for customers to keep and change the frequent use texts on selected models: S-883, S-884, S-885, S-8833,
R-5842, and S-600.
  PAT. NO.: 
US 7, 011, 024 B1
 
 
   Handy Stamp S-772 . S-773
 
Self-Inking Printing Kit
 
 
Press both sides
of the sleeve (as
shown in the left).
 
 
Pull to take
off the sleeve.
 
 
Press to push
out the stamp.
 
 
Release and
stamp as usual.
 
  To replace the stamp pad:
  Gently push outward to
release the used pad.
   
   Printer Line
 
Self-Inking Printing Kit
 
 
Lock button: Press to secure the stamp on the required lock position to take out the ink pad or arrange the texts.
   
Depress and lock the stamp on the first lock position to insert or take out the ink pad.
   
Lock the stamp on the third lock position
to arrange texts.

Arrange rubber types from right to left.
   
Lock the stamp on the second lock position to insert or take out the removable platen.
   
There will be a click sound when both sides
are locked and the removable platen is secured.
   
Gently depress the handle to have stamp
back in position, and stamp as usual.
   
   Printer Line
 
Self-Inking Printing Kit


  Depress the stamp to the first lock position to insert or take out the ink pad.
 
  Depress the stamp to the third lock position.

Press both red buttons to lock the stamp to arrange texts or adjust the date.


  Lock the stamp on the second lock position to adjust the date band to proper height. 

Use screw driver to adjust screws on both sides.
 
  Gently depress the handle to have stamp back in position.

Stamp as usual.